Tuesday, April 15, 2014

DSLR Camera Strap and Wristlet Tutorial


Last year I finally purchased a DSLR Nikon and 50mm lens.  It was totally worth the extra cost over my micro 4/3 point and shoot.  I use my point and shoot mainly for video.   I wanted to add some comfort, color and a cover to my DSLR camera strap. As well as a wristlet strap for my point and shoot camera.


 I have been sewing these for over a year now and have learned a few things along the way.  If you are like me you may also love to personalize your stuff. Especially your camera.  When I get together with my family and we all have our camera's along mine doesn't get mixed up with all the others and is easy to spot.  The camera strap that came with my camera works just fine, however I love the soft feel of the minky fabric on my neck.  It was especially nice when I took my camera on a long trip and it was around my neck for an extended period of time.


A wristlet strap also works great  for my point and shoot camera as well as my car keys.  If you have come to my blog you are here because you  would like to learn how to make your own! Let's start out with the wristlet tutorial. First off I purchased a special foot from the fabric store.  These wristlet straps are very thick and my regular sewing foot wasn't doing the job.  Once I had the right equipment I picked up my supplies.


 These fobs are simple to make when you have the right material on hand.  For this project you will need: 1-1/4 key fob hardware, a 11" length of 1-1/4" wide cotton webbing and coordinating fabric. Ebay is a great place to buy the cotton webbing and hardware.  I cut my fabric about an inch wider than the webbing so that I can fold the edges under for a finished look and sew them to the backing.  I use cotton duck fabric because it is a thicker fabric and I think it looks great with the webbing. From the pics you can see that I have sewn the fabric to the webbing with a slight edge. Once you have sewn your printed fabric to the webbing you are ready to fold the webbing in half and sew a 1/2 in seam across the top.


You can now add your hardware.  Gently insert the unfinished side into the fob hardware.   I usually cover my fob with a dishtowel and then  pinch it closed with pliers. I have also used a rubber mallet to carefully pound the hardware closed. For a more durable wristlet I take a dab of fabric glue or E6000 and run it along the side edge of the fabric next to the hardware to keep it from fraying over time. If you are using this for your keys you are ready to go.  If you are using this for a camera or camcorder you need to add your camera loop. Now you have a finished camera or key wristlet!


Ready to learn how to make a DLSR camera strap?   I usually start with 3 items.  Fabric, medium to heavy weight fusible interfacing and minky.  I cut the fabric, minky and interfacing 28 inches long by 3 1/2 inches wide. I want my finished strap to be 2.5 inches by 26 inches long.  I iron my fusible interfacing to the  underside of my printed fabric. Then I fold under the ends of my strap about one inch and sew a  1/2 inch seam across. Just like the edges of the strap pictured below.


Minky, cotton duck fabric and fusible webbing 
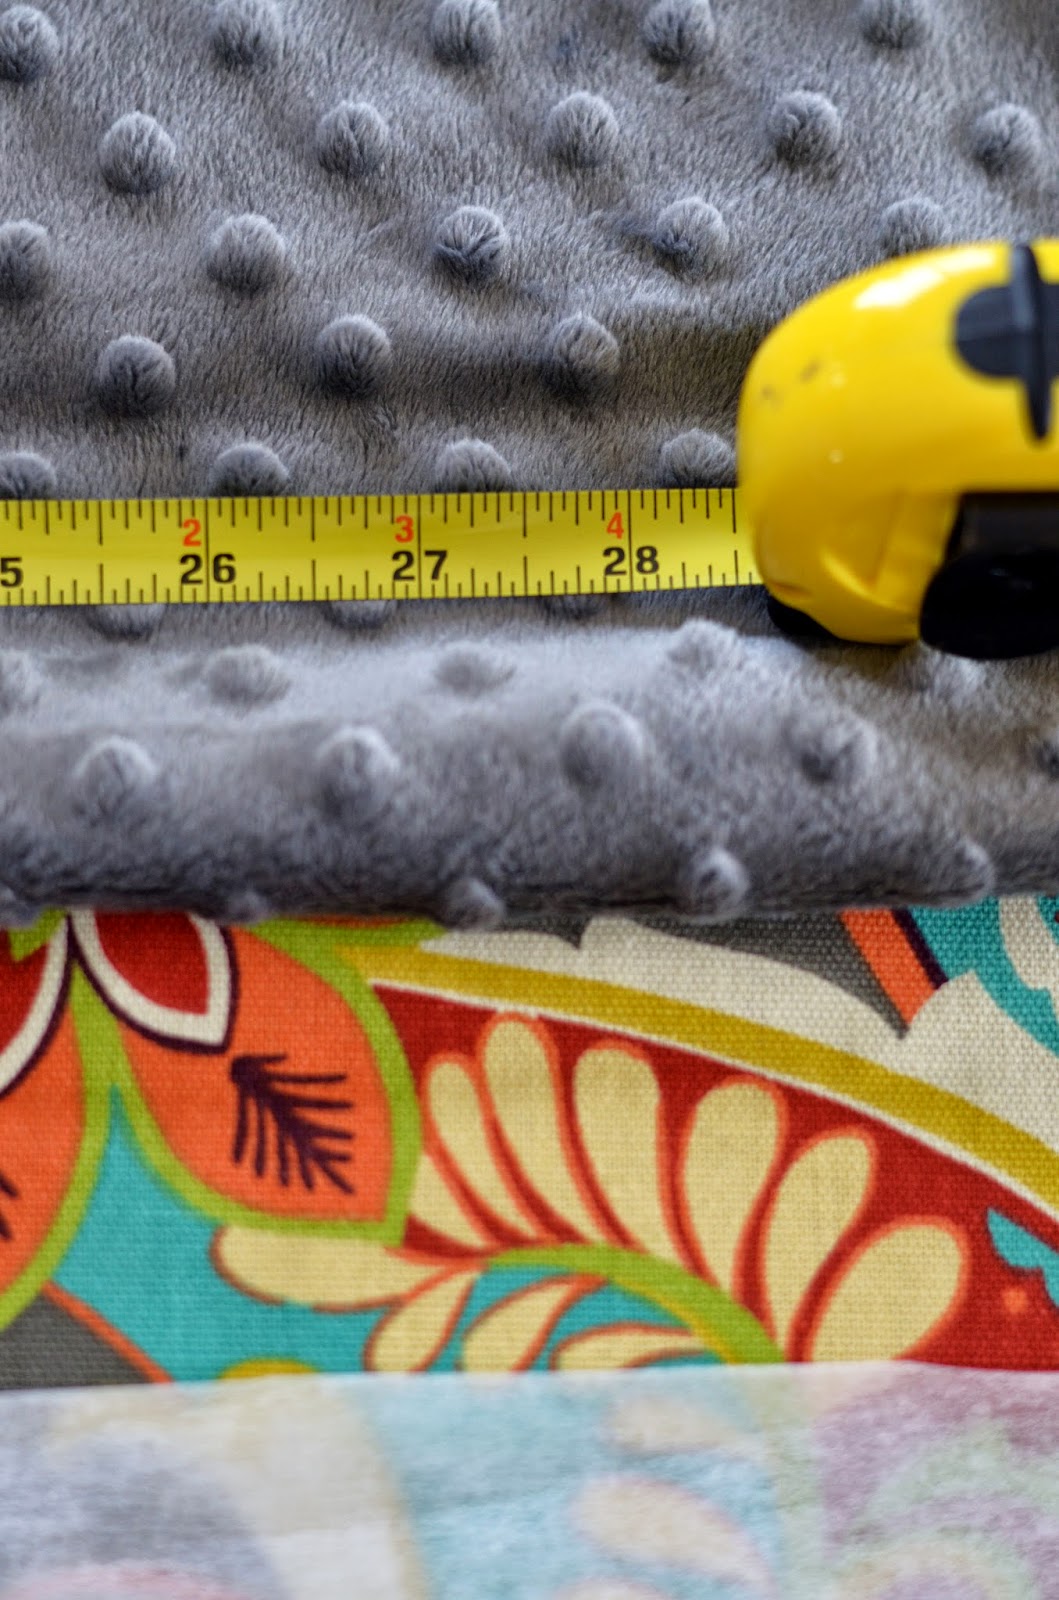


Next I sew my finished seam on only one end of the minky fabric just like I did for the outside strap. So that you understand I have left one side of the minky fabric un-sewn.  I turn wrong sides together and sew my side seams 1 inch wide down each side of the strap. One tip I can share with you is that the minky fabric stretches as you sew.  When I come to the end of the other side of the strap that has the minky edge that is not finished I give myself a 2 inch gap. I don's sew all the way to the finished edge of the strap that has the un- sewn minky. I remove my project from the sewing machine and sew the other minky edge to fit the opposite printed side edge.  Then I complete my project by sewing both side seams together. Now you are ready to turn the fabric inside out.  I usually like to press my finished project.  Now you are ready to insert your camera strap and enjoy a personalized strap that is unique and functional.


 My finished DSLR camera strap cover!


I also sell these at a local store and would love to make one for you! These make a fantastic personalized gift! You can check out my designs here:

https://www.facebook.com/terresa.schuldtburnham/media_set?set=a.619876908035389.1073741892.100000392552845&type=3


https://www.facebook.com/terresa.schuldtburnham/media_set?set=a.619876908035389.1073741892.100000392552845&type=3


Sunday, April 6, 2014

DIY Tiny Cards


I recently joined Deena Rutters creative team.  One of the many exciting parts of being a team member is getting the chance to design some fun pages with her amazing kits.  I just fell in love with her latest releases  Roots and Wings from Pixels and Company!


This kit is just packed full of spring!  I couldn't wait to design some darling pages with it.  I decided that I needed to create a fun digital card to give to family and friends.  


Did you know that journal cards can be used for many things? I used some of Deena's journal cards to create a tiny greeting card.  The finished dimensions end up being 3 x 4. I left the inside of the card blank. I also trimmed the corners.  I can really write anything inside the card.  This card can now be used for many sentiments.  It really becomes so versatile.  Journal cards are really big right now and you can create a ton of these tiny cards!


Here's an example of how I created the envelope with a printed pattern. I printed the paper as a 5 x 7. I used a template design from Lori Whitlock.


Here are a few cards I created with various digital scrap booking kits.  I used the program Heritage Collector Storybook to size these cards down. The folded cards measure 2 x 3. 


I printed these from my home computer.  They really look amazing printed professionally from your favorite printing company. 


I had a blast putting these fun baby cards together!  These were both printed as a 4x6.


My scrapbook page created with Roots and Wings. So many fun things to create!


I love creating and sharing fun spring scrap book pages.  Happy spring! 


Friday, April 4, 2014

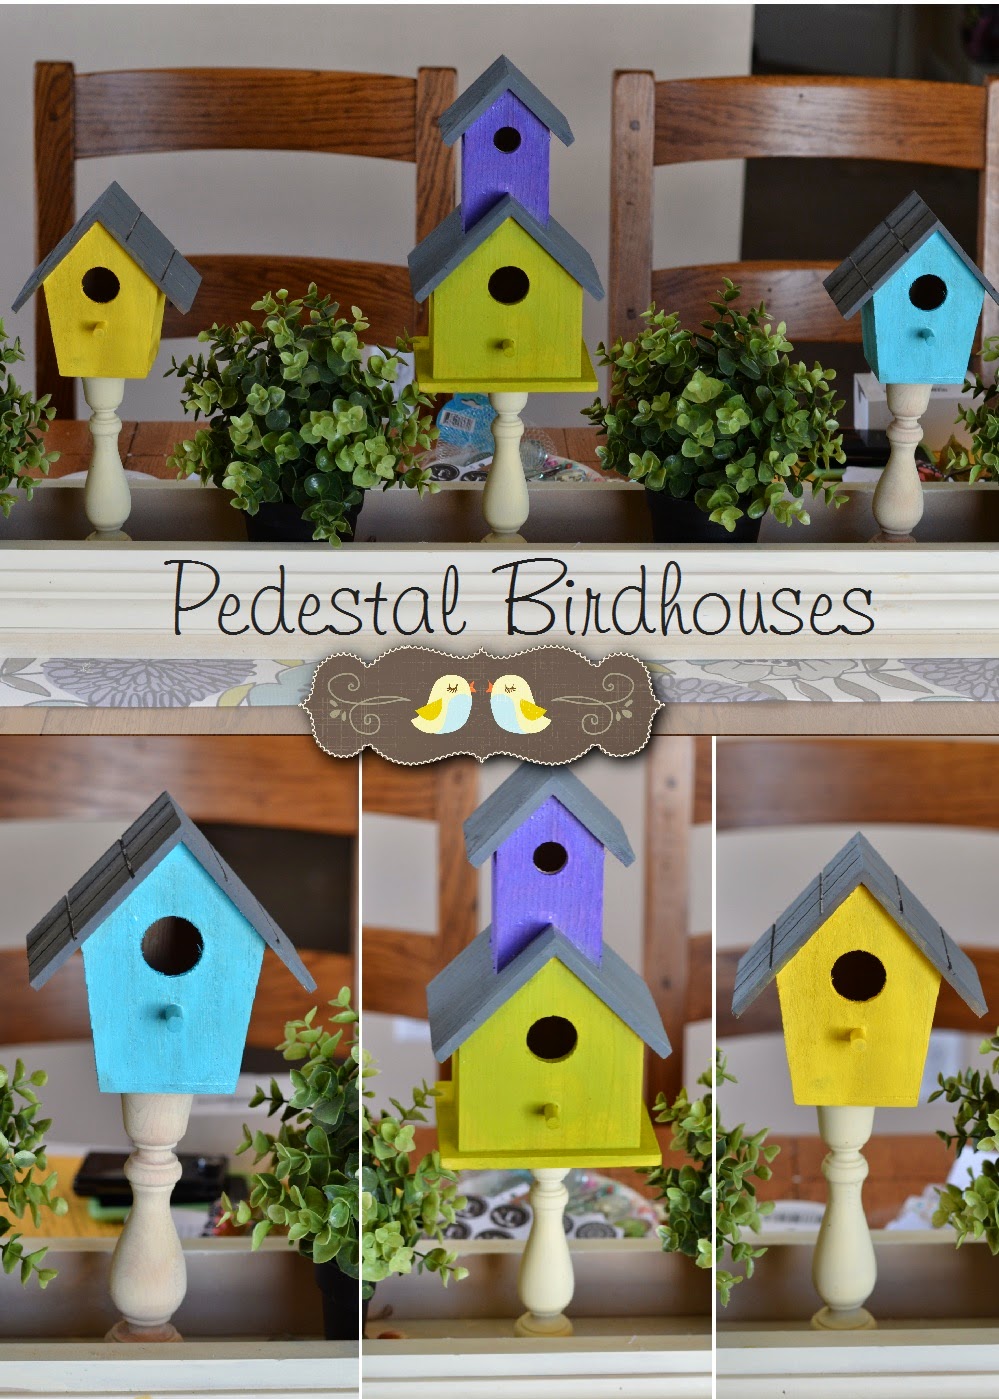
Pedestal Birdhouses


These were so much fun to make. I love filling my flower box centerpiece with fun spring decor!  What inspired it all was my no sew table runner I made last week.


After I finished making the runner I decided that I still needed something to complete my project.


My sister told me about these unfinished birdhouses at Walmart that were very reasonably priced.  So I picked up these three and one more not pictured I will add it later.  My sister is super creative and you can check out her blog for some amazing ideas!  http://heritagecollectorstorybook.blogspot.com/


So while at the store I found some paint to match the decor of the runner.  The pedestals were purchased from the wood connection and painted cream to match my flower box. 


These would also be darling with some scrapbook paper.  I can think of many ways to dress up these little birdhouses.  I couldn't be happier with how this project turned out.  My kitchen table looks like spring has arrived!


In keeping with a spring theme I also added this fun little birds nest in mini cake dome.


This is how my runner looked before the pedestal birdhouses.


Sunday, March 30, 2014

Recipe Card and Treat Topper Freebie


I love trying new things.  Especially a tasty treat. I love different flavors of salty or sweet popcorn. So when I tried this candied popcorn at a party, I was hooked from the very first bite!  Once I was able to get a copy of the recipe and try it out I couldn't believe how simple it was to make.  This is so easy and yummy that I think you will agree.  


I designed  two recipe cards with Heritage Collector Storybook to share with for you.  Compliments of Boutique Cute Dolls.


You can print these out as a 4 x 6 and add it to your recipe stash.   Just click on the image, save and print.


When I made my last batch of this Candied popcorn.  I added a little bit of yellow food coloring to make mine a bit brighter.  I have also heard that adding your favorite unflavored package of kool-aid to the recipe can give you a ton of flavors and colors to try!


I decided to make a coordinating topper that I could use to package my popcorn that paired with the recipe card.  I love sharing with others.


If they like this as much as I did you will already have a recipe printed to give away with your treat.  The dimensions are 5 x 10 printed.  


The recipe and topper were both created with Blissful Day. This new kit is just full of springtime color.  You definitely want to add this to your scrap booking stash! 


Enjoy! ~Terresa


Friday, March 28, 2014

DIY Recipe Box


Last week I showed you how to make a table runner.  This week I want to feature a DIY Recipe Box.  So I started with these three fabric rosettes.  I wanted to match them to the colors of my table runner that I made last week.   


The items you need to make one are:   A cardboard recipe box, spray paint, fabric and your print for the top of the box.


The link above will take you to the print.  I sized mine to fit in Heritage Collector Storybook.


Pretty simple and fun to customize your own to your decor

Enjoy ~Terresa


Monday, March 24, 2014

Easy No Sew Table Runner


I recently found this gorgeous cotton duck fabric.  I couldn't wait to come home and make a runner for my table.  I literally had this completed in under 15 minutes without any sewing!


You can find the fabric I used at Hobby Lobby or Fabric.com. I pinned the link under my sewing board on Pinterest. To make one the first thing that you need to do is figure out the length and width you want your runner to be. Then add an inch and a half to the edges all the way around.  You can choose to fold the ends over twice if you wish to hide your raw edge.  I didn't want the extra bulk so I skipped that step.  No one but me will see the underside anyway! My finished runner dimensions ended up being 14 x 88 inches. 


Now that your fabric is cut to your specifications iron your edges.  Once you have the fabric pressed make your corners!  I loved finding this little tip to make a clean corner look really great!


Now that you have ironed your edges and folded your corners pull back the ironed edge. Open it back up and run a thin line of fabric glue along the ironed line and then pull your edge back over to cover.  Gently smooth the edges down and let it dry.


The amazing thing about this runner is that I used my 40% off Hobby Lobby coupon and with the cost of the glue this project only cost me $15 total and I made three table runners to share at $5 each!


Enjoy ~Terresa


Happy Spring!