Last year I finally purchased a DSLR Nikon and 50mm lens. It was totally worth the extra cost over my micro 4/3 point and shoot. I use my point and shoot mainly for video. I wanted to add some comfort, color and a cover to my DSLR camera strap. As well as a wristlet strap for my point and shoot camera.
I have been sewing these for over a year now and have learned a few things along the way. If you are like me you may also love to personalize your stuff. Especially your camera. When I get together with my family and we all have our camera's along mine doesn't get mixed up with all the others and is easy to spot. The camera strap that came with my camera works just fine, however I love the soft feel of the minky fabric on my neck. It was especially nice when I took my camera on a long trip and it was around my neck for an extended period of time.
A wristlet strap also works great for my point and shoot camera as well as my car keys. If you have come to my blog you are here because you would like to learn how to make your own! Let's start out with the wristlet tutorial. First off I purchased a special foot from the fabric store. These wristlet straps are very thick and my regular sewing foot wasn't doing the job. Once I had the right equipment I picked up my supplies.
These fobs are simple to make when you have the right material on hand. For this project you will need: 1-1/4 key fob hardware, a 11" length of 1-1/4" wide cotton webbing and coordinating fabric. Ebay is a great place to buy the cotton webbing and hardware. I cut my fabric about an inch wider than the webbing so that I can fold the edges under for a finished look and sew them to the backing. I use cotton duck fabric because it is a thicker fabric and I think it looks great with the webbing. From the pics you can see that I have sewn the fabric to the webbing with a slight edge. Once you have sewn your printed fabric to the webbing you are ready to fold the webbing in half and sew a 1/2 in seam across the top.
You can now add your hardware. Gently insert the unfinished side into the fob hardware. I usually cover my fob with a dishtowel and then pinch it closed with pliers. I have also used a rubber mallet to carefully pound the hardware closed. For a more durable wristlet I take a dab of fabric glue or E6000 and run it along the side edge of the fabric next to the hardware to keep it from fraying over time. If you are using this for your keys you are ready to go. If you are using this for a camera or camcorder you need to add your camera loop. Now you have a finished camera or key wristlet!
Minky, cotton duck fabric and fusible webbing
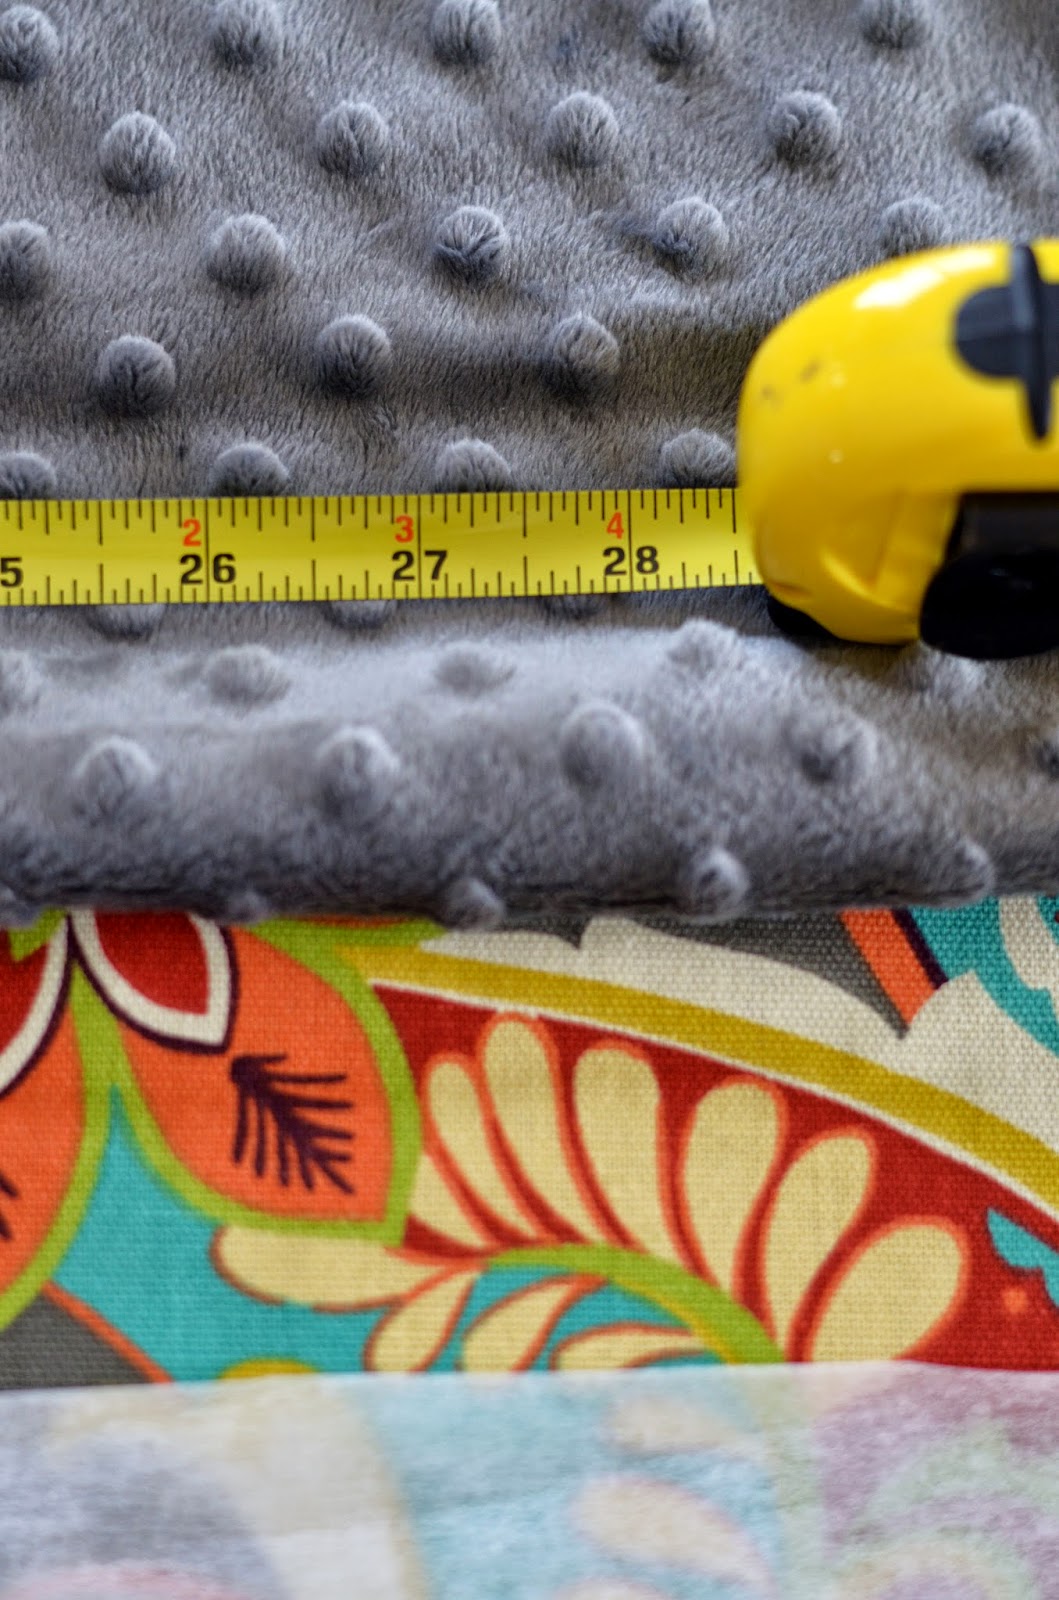
Next I sew my finished seam on only one end of the minky fabric just like I did for the outside strap. So that you understand I have left one side of the minky fabric un-sewn. I turn wrong sides together and sew my side seams 1 inch wide down each side of the strap. One tip I can share with you is that the minky fabric stretches as you sew. When I come to the end of the other side of the strap that has the minky edge that is not finished I give myself a 2 inch gap. I don's sew all the way to the finished edge of the strap that has the un- sewn minky. I remove my project from the sewing machine and sew the other minky edge to fit the opposite printed side edge. Then I complete my project by sewing both side seams together. Now you are ready to turn the fabric inside out. I usually like to press my finished project. Now you are ready to insert your camera strap and enjoy a personalized strap that is unique and functional.
My finished DSLR camera strap cover!
I also sell these at a local store and would love to make one for you! These make a fantastic personalized gift! You can check out my designs here:
https://www.facebook.com/terresa.schuldtburnham/media_set?set=a.619876908035389.1073741892.100000392552845&type=3
 |


No comments:
Post a Comment