Tuesday, February 19, 2013

Scrapbook Birthday Magnets & Paper Flowers

Every year I try to brainstorm new ideas for birthday gifts.  I try to come up with something that fills the criteria of pretty to look at, functional, and fun.  My girls also like to help make their gifts. I have three daughters who have a lot of friends and I needed to come up with a new idea for this year.  We can't repeat the same idea as last year of course!  So I  want to share my idea with you for this years birthday gift.  Fridge magnets.  You can never have enough of those right!  My teenage daughter even uses them in her locker at school.  They also work great on those fun magnetic boards that have been so popular this last year.  Your daughter can use her magnets to hang notes on them. Best of all these can be created easily with Heritage collector Storybook!


Here is the finished project.  I created a 4x4 inch topper.  Then I cut out some flairs I printed from a digital scrapbooking kit.  I glued the flairs to the back of 1 inch bubble glass that I purchased from Hobby Lobby.  I attached a magnet to the back when they were dry.  Finally I taped them to cardstock and slipped that into the bag with the magnets attached.  I folded the toppers over the top and stapled them to the bag. 


Here is a close up of the finished gift. We plan to put them inside a fun bag with their favorite treat.  
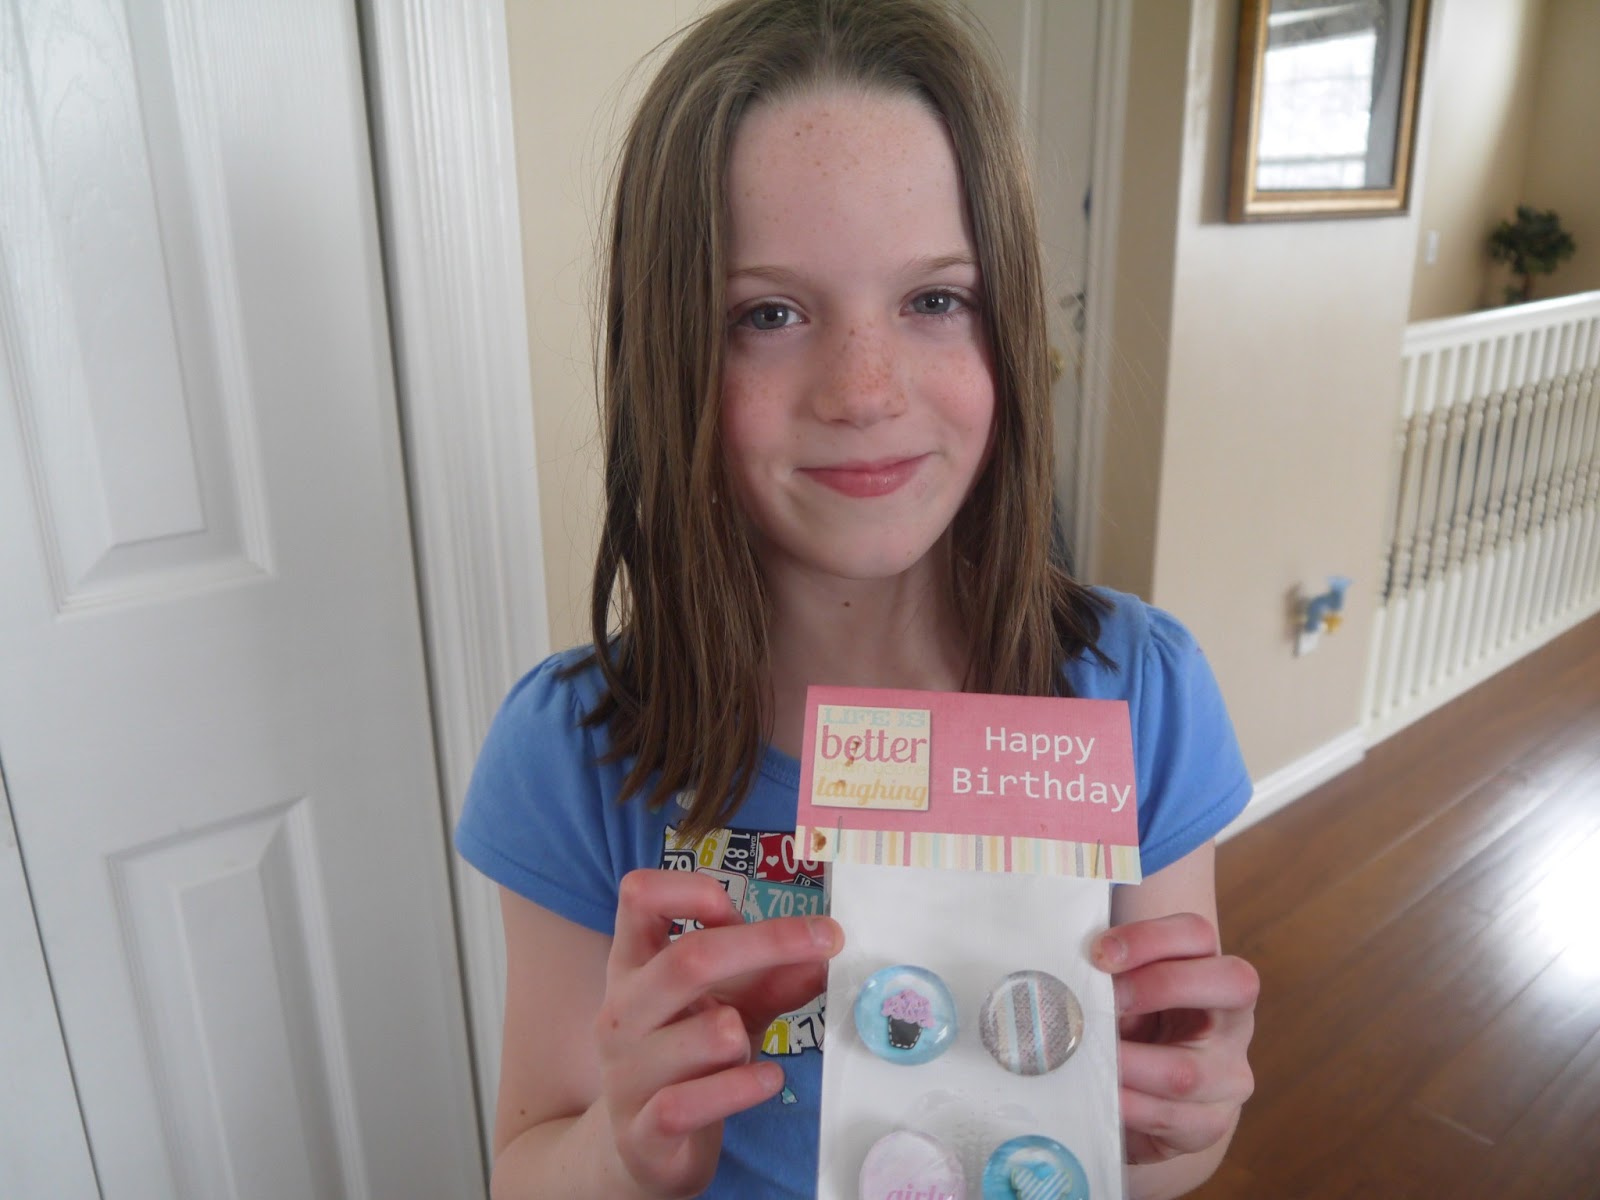

My cute little helper.

We also made some fun paper flowers for decorating this spring.  My daughters are little artists and crafters and they love to help me with projects around the house.


I used a small paper flower punch.  Card stock and  some long stick pins and a craft ball.  With two of us working together it took about an hour. One of us punched the flowers while the other attached the stick pins to the painted craft ball.  We didn't want any white showing through and chose a pale yellow paint.


The finished project.


My other lovely helper.

Monday, January 21, 2013

Valentine Print

Valentines day will soon be here.  I like to change out my decor each month and it is fun to add a little something new each year.  Last year I "heart attacked" my children's bedroom doors with  heart cutouts and candy.  I may do the same this year and bake up some valentine sugar cookies too.  I enjoy adding to my collection of holiday printable.  So I created this 8x10 print in Storybook to share.  It's nice to know that I can add something bright and colorful to my front room.  Winter can seem long but indoors I try to find ways during the cold months to add a little cheer.  Enjoy!


Thursday, December 6, 2012

Treat Bag Topper

Merry Christmas! This time of the month is about to get busier.  I love sharing a treat with family friends and neighbors. My children like to as well.  Having my toppers ready ahead of time means one less thing to do when things start to get crazier later this month.  I purchased a fun graphics kit called candy cane cuties.  Then I pulled the graphics into Heritage Collector and I was ready to design these toppers in Storybook.  These treat bag toppers were a cinch to make.  I want to share them with you.  These are roughly 4x4 printed out. All you have to do is right click save and print.  Enjoy and don't forget to visit the Heritage Collector site.  They have some great Christmas ideas!  No to mention Heritage Collector makes a great gift.


Thursday, November 29, 2012

Chipboard Tree Ornaments


 December is fast approaching and I have had a project that I started back in October that I finally finished and am excited to share with you!  Christmas chipboard frames.   I love the new curvy wood frames that you can paint and display your favorite photos in.  I wanted to purchase some 4x4 sizes for my Christmas tree this year, but almost choked at the price tag.  At $8 a piece and I would need 15.  Well you do the math.   So I began thinking of another alternative that would give my Christmas tree the personal family appeal I wanted this year.  Chipboard came to mind.  There are several things you can do with this versatile heavy duty paper.  You can purchase some sheets at your local craft store and free hand a design you like.  Or you can purchase some already in the shape and cutout you want.  I chose to purchase some already cut out and ready to paint from Etsy.  I picked up some tubes of craft paint in green, cream, brown, and red with some craft ribbon and some extra glue sticks.  When I was ready to begin I painted my chipboard.  While it was drying I headed downstairs to my computer and opened up Storybook and chose the pictures I wanted to use.  The size of the opening of my frame was 3x3 so I sized my pictures down to scale and printed them from home on my printer.  Of course I was able to enhance them any way I chose in Heritage collector so they would look the way I wanted when I printed them out.  Once the frames were dry I hot glued the ribbon to the back of my frame attached my pictures and viola my very own Christmas chip board frame at a fraction of the price! I love all of the many projects I can do with my photos using Heritage collector.  This would also be a fun way to display your family Christmas cards over the years or highlight some of those special people in your life this Christmas.


Wednesday, October 17, 2012

Halloween Costume Contest Awards

Halloween is fast approaching!  I had the assignment to put together some bright and colorful Halloween costume awards.  I wasn't quite sure what I wanted to do so I looked at some ideas and layouts.  Once I had a good idea of what I wanted to create I hopped on over to Designs by Krista and downloaded some of her darling Halloween graphic kits.  Of course I couldn't have put these together without Heritage collector storybook.  It was really easy to do with the right program.  Can I tell you how simple it was to create this project?  I can't wait to hand these out at the party!


Award number one.


Award number two.


Award number three.


Award number four.

Now you you have an idea of how easy this is to do, you are now ready to create your own spooky invites or awards for your little ghouls!

Monday, October 8, 2012

Printable Quote

I just love hanging on my wall inspiring quotes by others.  I also like to do this for holidays and birthdays.  It is even more fun for me when I can design the color and size and really personalize my framed work of art for the room it will be displayed in.  Well you can too!  I pulled these quotes into the Heritage Collector storybook program and then designed an 8x10 print that I can now display in my home.  It was really quick and easy to do.  Once I finish the layout I can quickly send it to my favorite printing place, or use my own personal printer to print it out.  This page was complete in 20 minutes.  I love how easy Heritage Collector is to use.  My daughter is having a birthday party this week and I also was able to quickly and easily design and print her party invites.  There are so many fun things that you can  do using this program!  I needed some order in my families busy life and so I also designed a dry erase calendar to use as well.  Can you see all of the fun possibilities here?  I love that I can use all of the tutorials and free online classes to help get started.

Here is the finished printed quote. This would make a great framed gift!  The graphics for this were generously shared by designs by Krista. 


Here is a dry erasable calendar.  I have made several of these as gift for under $6 laminated


Here is the print framed with glass.  Dry erase markers work great!


This is a birthday card I recently designed for my daughters birthday party.  They were super fun and easy to put together!


There are some fantastic free classes coming up to teach you step by step how to create some of the projects you see here.  You can visit Heritage Collector or the Storybook blog to sign up!

 http://heritagecollectorstorybook.blogspot.com/

http://heritagecollector.3dcartstores.com/


Friday, July 6, 2012

DIY print for a table display!


I am excited to share this post with you!  I have had a bare tabletop for quite some time and I really wanted to create a fun arrangement.  I am a thrifty gal and I love finding bargains and decorating with items I can create myself.  I received a sewing machine for Christmas this last year and I was looking for a simple project I could create in an hour or less.  So I came across a sheet set on clearance that was in the colors of my kitchen and I created a table runner out of the fabric.  Later I was browsing pottery barn and came across some fun lanterns.  So I headed to my local Hobby Lobby and found some for 50% off.  I loved adding the little battery powered tea lights to the top of each candle.  The berry wreaths were some my sister had left over that matched the decor.  The 11x14 print was created by my talented sister in Heritage Collector Storybook.  She sold and displayed this print at our summer boutiques and I just had to have a copy to complete my table display.  The graphics to design the page were from Designs by Krista.  I was happy with how this project turned out, and I didn't break the bank.

I just fell in love with this print!  You too can create your own in Heritage Collector Storybook!  I hope you are enjoying your summer!  Check back for some great gift ideas that you can create using Storybook!